|
A common problem with 3rd Generation Maximas is for the power antenna to break. This often occurs because the plastic strip that raises and lowers the mast breaks. The repair is conceptually simple, but can be frustrating because the area where the power antenna is located is pretty cramped.
Parts Needed
Replacement Antenna Mast (28215-50J06) Cost: About $42
Tools Needed
"Shorty" Phillips Head Screwdriver
Needle Nose Pliers
Crescent Wrench
7mm Socket and a Ratchet
 Removing the Old Antenna
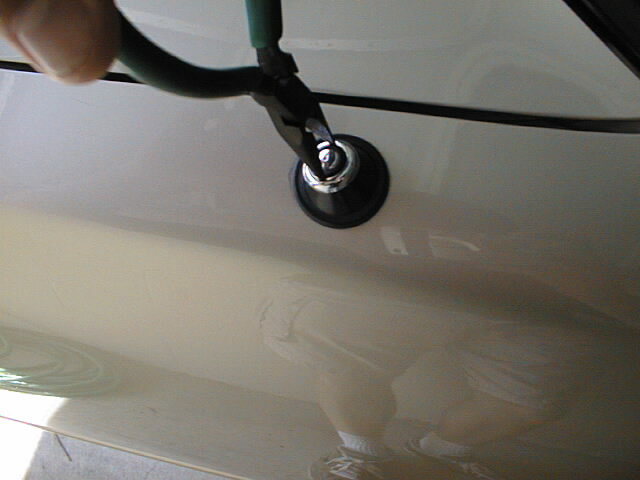
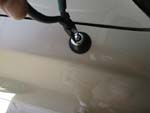
The retaining nut that holds the antenna in place has two notches on it. Put the ends of the needle nose pliers into the notches, and unscrew the retaining nut.
Removing the Old Antenna
The retaining nut that holds the antenna in place has two notches on it. Put the ends of the needle nose pliers into the notches, and unscrew the retaining nut.
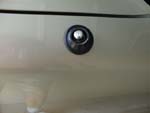 Have someone in the car turn on the radio, when the antenna starts raising, gently pull on it. It will come all the way out.
 Installing the New Antenna
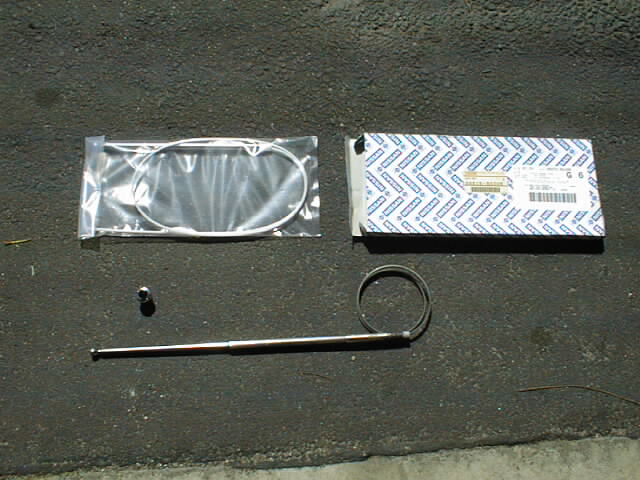
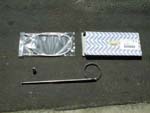
In this picture you can see the old antenna on the bottom. There is a plastic strip with teeth on it attached to the mast, this is what breaks. Above the old antenna is the retaining nut, and above it is the new antenna.
Installing the New Antenna
In this picture you can see the old antenna on the bottom. There is a plastic strip with teeth on it attached to the mast, this is what breaks. Above the old antenna is the retaining nut, and above it is the new antenna.
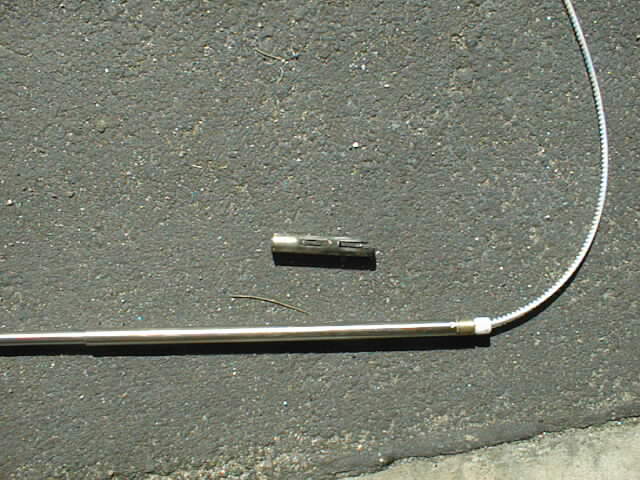
 At the base of the old antenna there is a collar that holds the antenna in place. Slide this off and put it on the new antenna.
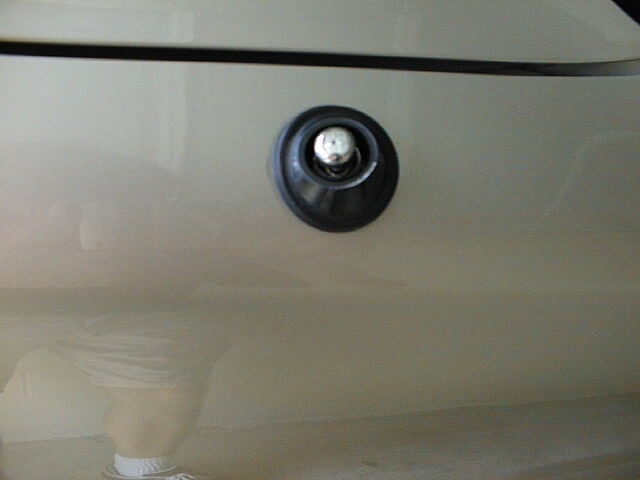
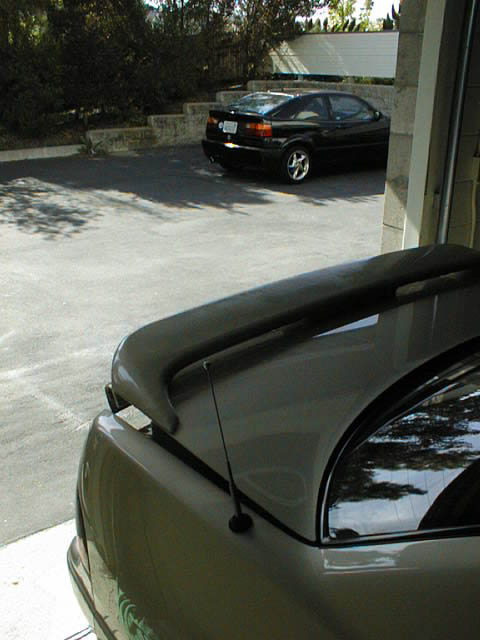
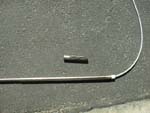
 At this point I tried to thread the antenna back into the motor assembly. Luckily I have a remote control for the radio, so I was able to turn it on and off from the back of the car. If you don't have a remote, you will want to have someone in the car to operate the radio. As you can see from the picture, the antenna would not lower all the way. It would stop with about 9" still sticking out. After about 5 minutes of trying to get it go all the way down, I realized that the plastic strip that broke off must still be in the motor assembly.
 Removing the Motor Assembly
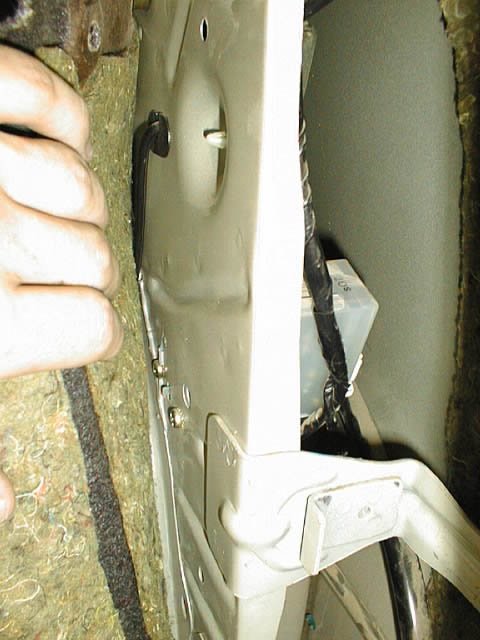
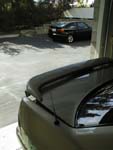
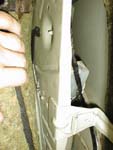
Here is where the fun begins. Open the trunk, and remove the jack from its compartment. If you look in the compartment and back to the left you will see the antenna. I sat there scratching my head about how to remove it (the Chilton's manual was no help) for a minute or two. The solution is to remove the two trim clips to the left of the jack compartment. Pull back the trip piece and you will see two screws at the bottom of the antenna (visible in the picture). Here is where the "stubby" phillips head screw driver comes in. I didn't want to remove the entire trip piece, so I squezed my hand in and tried to remove the screws, but I couldn't get enough torque at that angle to turn them. The solution, put the screw driver into the crescent wrench, now you have a "screw wrench". Works great. Take the screws out, and start coaxing the motor assembly out of the compartment. This takes some time. Be sure to unplug the two wire bundles that connect to the bottom of the white plastic box (the antenna timer).
Removing the Motor Assembly
Here is where the fun begins. Open the trunk, and remove the jack from its compartment. If you look in the compartment and back to the left you will see the antenna. I sat there scratching my head about how to remove it (the Chilton's manual was no help) for a minute or two. The solution is to remove the two trim clips to the left of the jack compartment. Pull back the trip piece and you will see two screws at the bottom of the antenna (visible in the picture). Here is where the "stubby" phillips head screw driver comes in. I didn't want to remove the entire trip piece, so I squezed my hand in and tried to remove the screws, but I couldn't get enough torque at that angle to turn them. The solution, put the screw driver into the crescent wrench, now you have a "screw wrench". Works great. Take the screws out, and start coaxing the motor assembly out of the compartment. This takes some time. Be sure to unplug the two wire bundles that connect to the bottom of the white plastic box (the antenna timer).
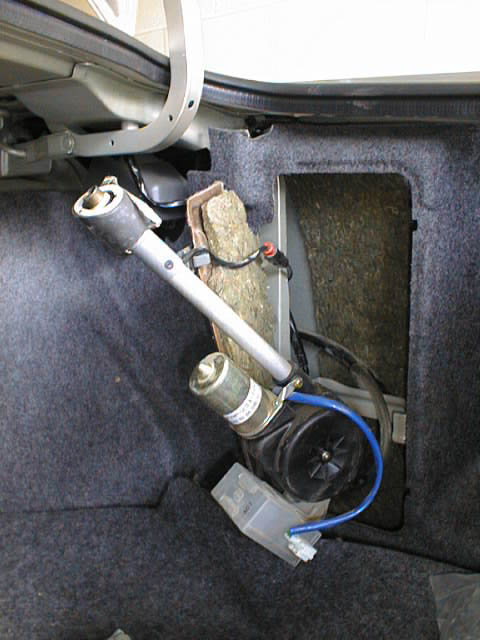
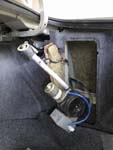 At this point you should have the entire assembly out of the compartment. The black wire that runs to the top of the mast is the signal wire from the antenna. This is attached to the body panel by a small clip, remove it with the pliers and disconect the wire (at the red plug in the picture). At the bottom of the antenna there is a drainage hose, just be carefull not to put any kinks in it.
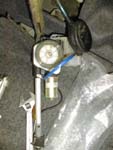 Now it's surgery time. On one side of the motor assembly there is a 7mm nut, remove this and the black plastic cap will come off. Inside you will find the reel that the plastic strip winds onto.
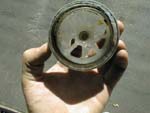 Take off the wheel and look inside. There is the devious piece of broken plastic that is keeping the mast from lowering all the way. Remove it, and berate it for being such a nuisance.
 At this point you are done. Just reverse the directions to put everything back in place. Make sure that the drainage hose has no kinks, and that all of the wires are re-attached.
|