|
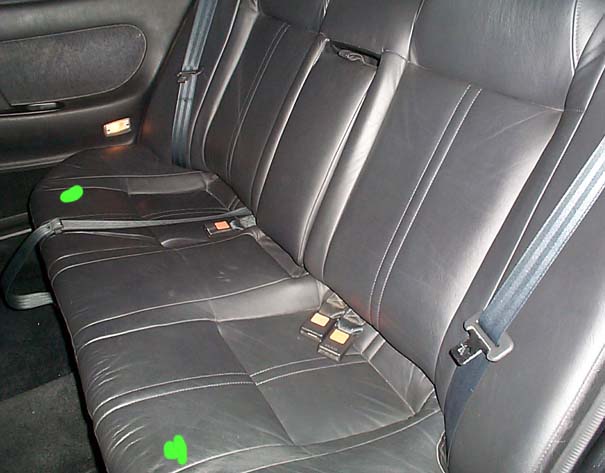
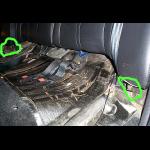
Pull upward on the lower portion of the rear seat. There are 2 clips holding it in (marked
in green on the picture). Pull hard straight up right by these clips and they
should pop right out. Then the whole lower portion will slide out.
|

|
|
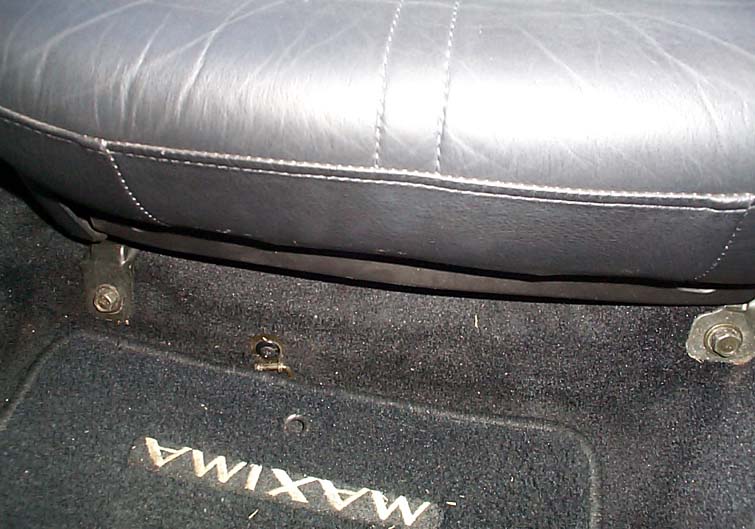
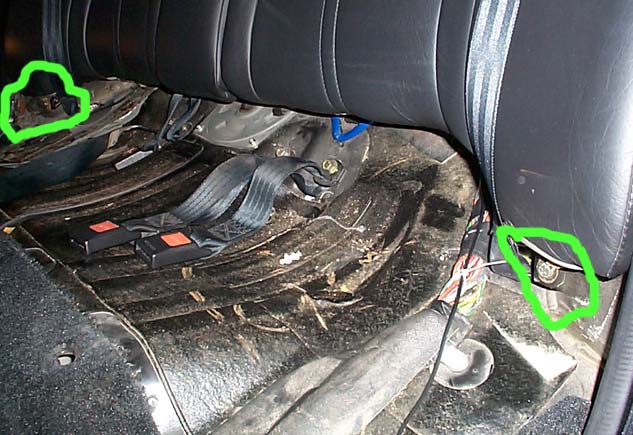
You will now be able to see a phillips head screw at the bottom of each end of
the upper seat portion. Remove both of these screws.
|
|
|
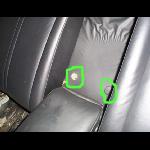
Now fold down the middle armrest. You will see 2 small plastic circles.
Pop these out with a small flathead screwdriver. You can now see the screws
behind them. Remove both these phillips head screws.
|
|
|
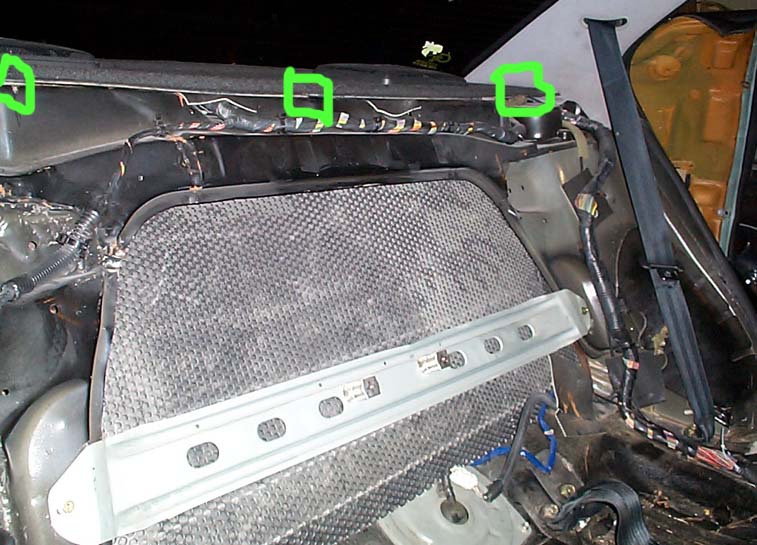
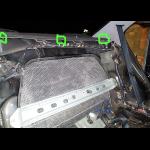
You will now be able to pull the upper part up and out. It has 3 clips similar
to those on the bottom portion you already removed. There is one on each
side and one in the middle. If you can't remove them by pulling upward with
some force, open the trunk and if you look up in the very back portion,
you will be able to see these clips and you can push them in with a small flathead
screwdriver.
|
|
That's about it. Install is reverse of removal.