Chilton Manual (196kb)
All necessary tourque settings are marked in blue and all nuts and bolts that must be removed are marked in red.
The first step in installing the rear suspension is to loosen all of the lug nuts on the wheels. It is easier to do this while the tires are on the ground because friction keeps the wheels from spinning.
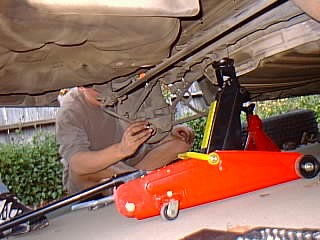
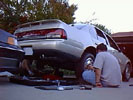
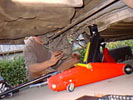 After the lug nuts are loosened it is time to jack up the car. We used a little bump in the middle of the car as the jack point. You may want to check your owners manual and use one of their reccomended locations.
After the car has been jacked up, remove the rear tires and set them aside.
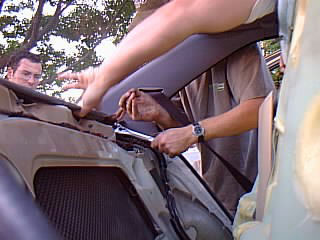
 The next step is to remove the back seat. The easiest way to do this is to first pull down the center arm rest. Behind it you will find two plastic plugs, remove these and remove the screws that are behind them. Then unstap the top of the seat. Their are three points of attachment, one in the middle and one on each side. You shold be able to hold the top of the seat and pull up and out. When it is dissatached just push it out of the way.
Now that the back seat is out of the way you should be able to see the strut covers. Remove these, and use a ratched to loosen the middle nut of the strut assembly. Only loosen it a little bit!. If you loosen it too much you could seriously damage your car or yourself.
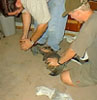
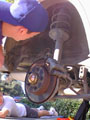 The rear strut is an integral part of the suspension system. The radius rod and the stabilizer bar both bolt directly too it, and therefore it is a real pain to remove. The first step is to remove the brake. Remove the brake hose from the strut by revming the small retaining clip. Then remove the caliper by taking out the two bolts on its back. Tie up the caliper or have someone hold it for you, try not to stress the brake lines. The brake pads will fall out, set them aside.
 Now remove the caliper mount by removing the two bolts behind it. At this point the disk should be loose, remove it and set it aside.
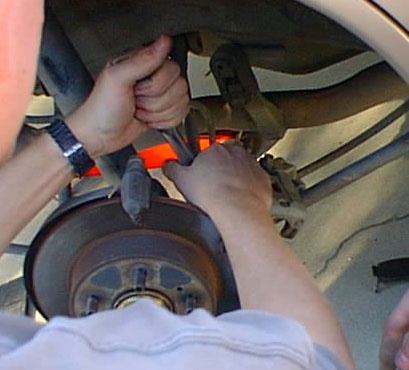
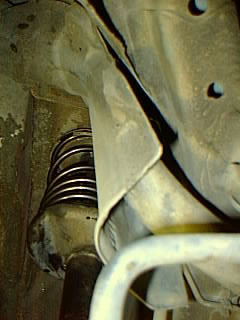
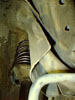
 Now disconnect the radius rod from the radius rod bracket by removing bolt 2. Then disconnect the stabilizer bar by removing bolt 3. Finally disconnect the two parallel links by removing bolt 1. This bolt goes all the way through the braket and holds one link at each end. At this point the entire bottom end of the strut should be free.
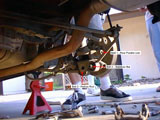
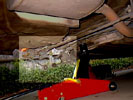 You can now return to the inside of the car and remove the three nuts holding the top of the strut in place. Do not remove the center nut! Make sure someone is holding the bottom of the strut while you do this. Remove the strut assembly. Your car should now look like the picture to the left.
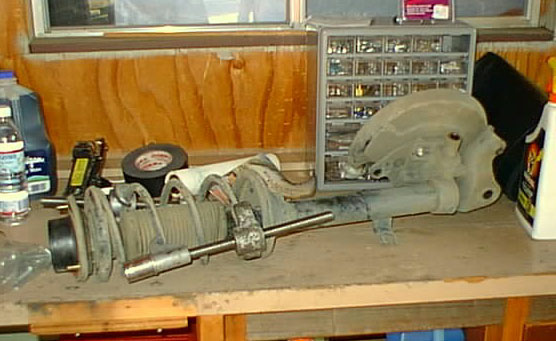
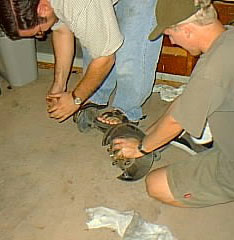
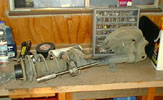 Take the strut assembly to your work bench and attach the spring compressors. You should put one on each side and be carefull to keep even tension on both sides. Compress the spring until you can see it seperating from the spring seats. Now remove the strut mounting bolt. The spring may decompress a little bit so watch your fingers. Remove the spring seat and the spring from the strut.
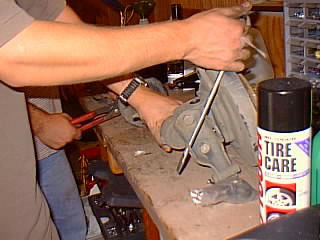
 Now you need to remove the gland packing and the o-ring. This is the collar that holds the strut cartrige in the strut. This collar is on really tight. I would suggest using a large wrench and then find some way to hold the strut assembly still while you loosen the collar.
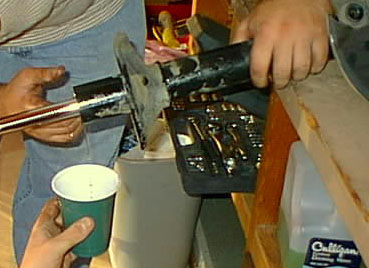
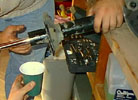 Warning: The stock struts are not sealed. They are simply a piston in an oil bath. When you remove the collar oil will start to run out. Catch this oil in a container and recycle it with your engine oil, but save some for the next step. Clean out the strut as well as you can. Then take the Tokico cartrige and place it in the strut.
 Pour a little of the excess oil around the Tokico as an oil bath. The instructions reccomend filling the strut until the oil is 2" from the top. This helps transfer heat away from the cartrige. Now replace the o-ring and the gland packing, tighten them down as tight as you can. According to the Tokico instructions there should be a couple of threads still showing on the gland packing.
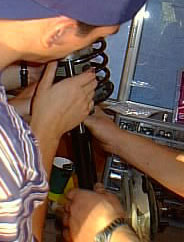
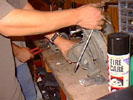
 Now you are ready to put the new springs on. Remove the urethane tubes from the ends of the old springs and put them on the new ones. These tubes keep the springs from ratteling or clunking. Use the spring compressor to compress the springs until they fit over the strut. Replace the dust boot (Don't forget this step, I did and I had to redo the entire process). If the dust boot has been ripped you may want to repair it with duct tape or replace it. Replace the spring seat and the strut mounting insulator, and put on the top nut. It may take several sets of hands to get the spring lined up correctly. Remember that the end of the spring should fit in the indentation on the strut assembly, and the upper spring seat has a hole that should face in the same direction as the wheel spindle.Tighten it until it is moderately tight.
 Put the strut back into the car and replace the three top bolts. Make sure th e wheel spindle faces outwards. Reconnect the radius rod, the parallel links, and the stabilizer bar. Replace the disk, caliper mount, caliper, and brake pads. Reconnect the brake line to the strut assemble. Finally, use a torque wrench to set all of the nuts at their correct torque ratings (given at the top of this page). The brake shroud may have become bent, make sure that it clears the disk on all sides, if it is to close to the disk just bend it back. Repeat this procedure on the other rear strut.
Replace the tires and lower the car slowly. Make sure that everything is holding and then torque down the lug nuts (to about 80lb*ft).
The last step is to replace the rear seat and to re-calibrate the brakes. To do this drive the car in reverse and then step on the brakes. The brakes should self-calibrate. You should get a four wheel alignment as soon as possible. For the next couple of weeks the car will slowly drop. Once a week or so, make sure that everything is staying in place by banging on the suspension components and listening for rattles.
|