|
I had a custom "y pipe" for my older white Maxima. In actuality,
it is an "f" pipe that aids in the exiting of exhaust. Unlike a true
Y pipe, the rear manifold exit drops down straight into the pipe from the
front manifold. The exhaust gas is freer flowing and it certainly
made a difference, but not as much as the true Y pipe.
I did things differently with my black car. I wanted it to be
faster and more responsive than the white Maxima and I have accomplished
that. I installed the Cattman Y pipe. It is a completely
bolt-on piece that was not terribly difficult to install. I
recommend taking the time and soaking all the bolts/nuts prior to taking
them off. You will also need to purchase exhaust gaskets, which are
also shown in my installation pictures below.
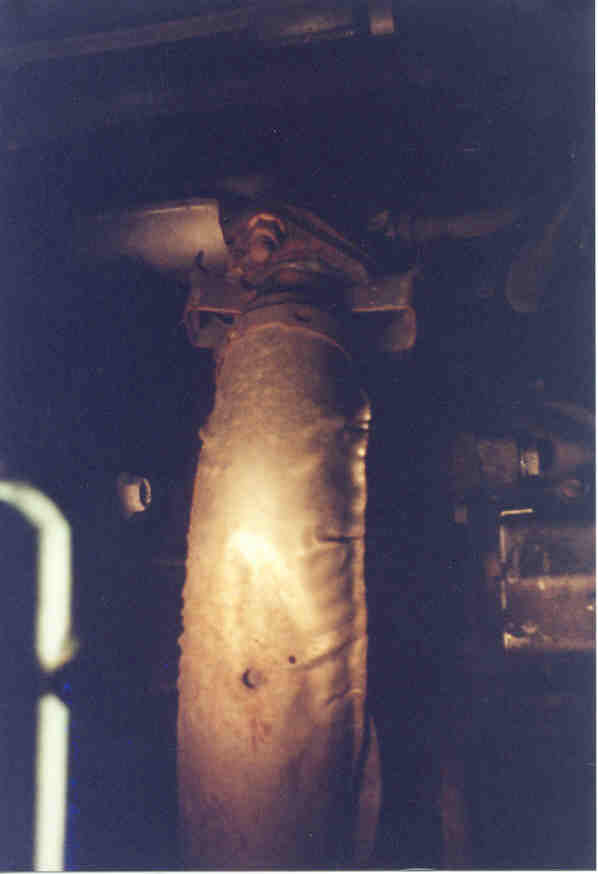
In comparing the pipes, you can see how
the flow is impeded in the stock pipe. Also note that the Cattman
pipe has a longer drop from the front manifold. I believe this
causes a problem with the pipe hitting the sway bar. Also note how
the stock pipe drops a bit in order to get to the Catalytic converter,
this just goes to show you that the stock pipe sits higher. If the
Cattman pipe would have incorporated these two things I mentioned, it
would have plenty of clearance from the sway bar. I believe
Warpspeed performance solved this aggravating problem. Take a look
at Craig's pictures on his y pipe page.

Tools you will need:
1. Metric Socket set (some SAE
may actually work though, as I found out for my front catalytic converter
bolts)
2. Metric wrenches
(to reach up in some of the more difficult bolts
3. Breaker bar (at least an 18 inch
socket wrench as these bolts are tough to take off)
4. Liquid Wrench spray (or a similar
product- I used a synthetic Valvoline product)
5. 3 gaskets (two for the manifold
connections, and the other for the catalytic converter.
5. Goggles! (else you'll get all kinds
of crap in your eye)
6. A light for under the car
7. Duct tape and aluminum foil if it
hits your sway bar after your done (because of a soft rear motor mount)
8. A jack and jack stands
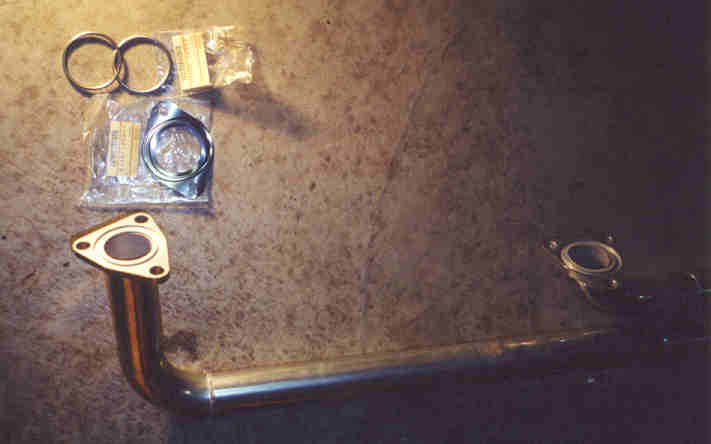
Here's the pipe and the gaskets I
used.
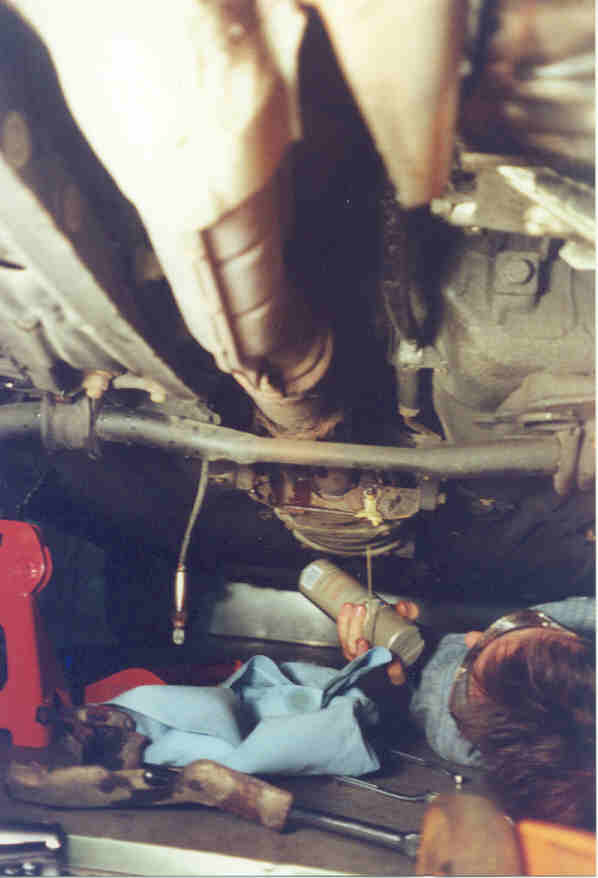
Step1: Patrick using the
lubrication. Valvoline synthetic lubricant was used to loosen all
bolts. My advice is to let them soak on the bolts for a few hours
prior to trying to remove them. This will make your job much
easier.
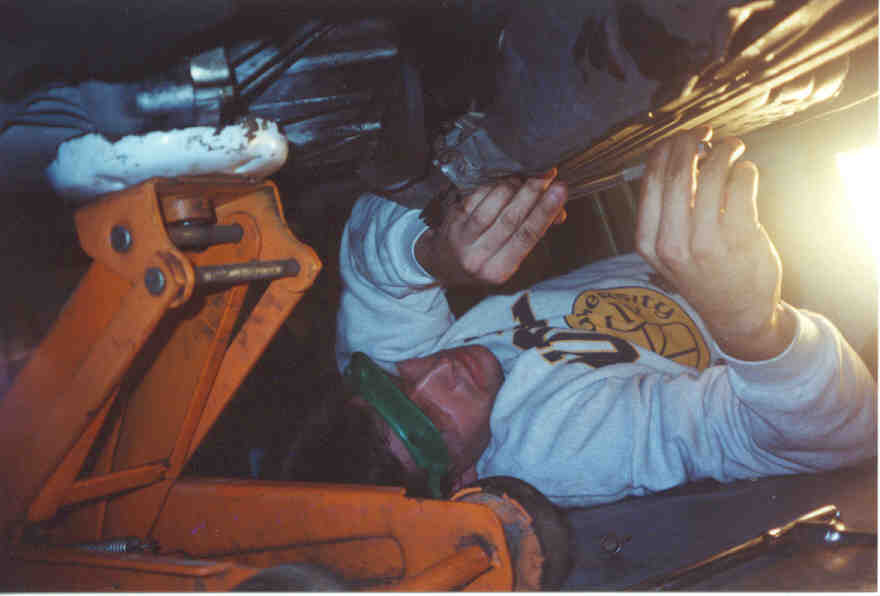
Step 2: Yours truly, taking off the
shields and brackets. At this point, the jack in the picture is a
backup in case my jack stands fail, don't worry, no upward weight on the
transmission there.
Step 3: Using the breaker bar to
take off the Catalytic converter bolts.
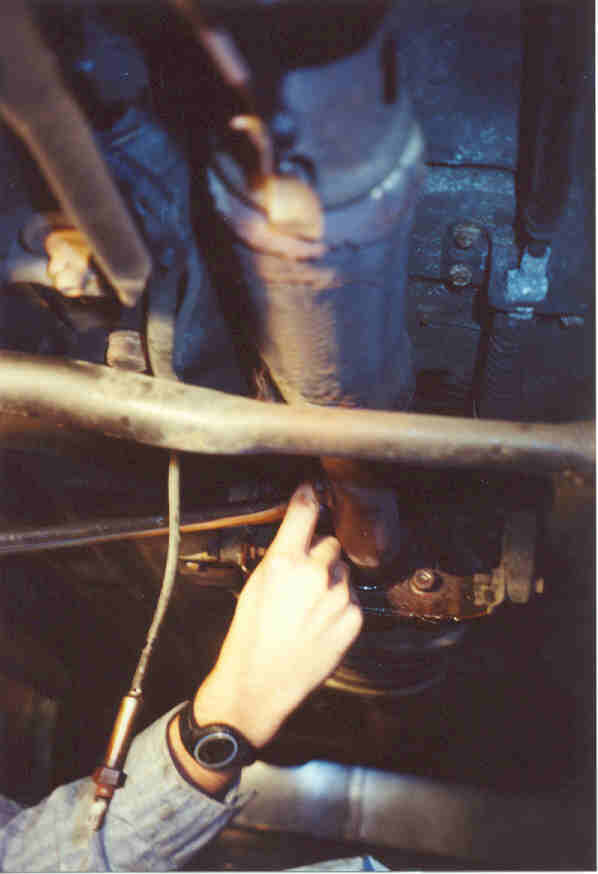
Step 4: Loosened those nuts on
front manifold.
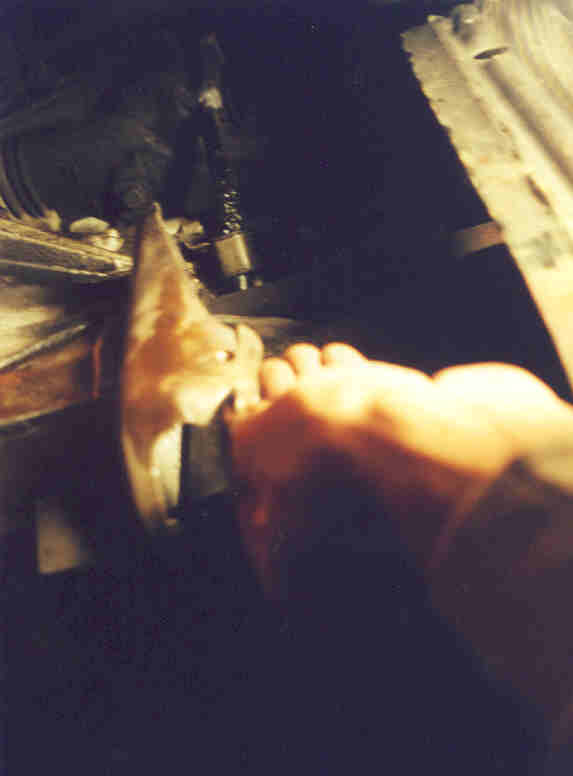
Step 5: Instead of taking
this bracket off like the most of you probably did, I took my electric
hacksaw and sawed off the end of it, giving the Y pipe just enough
room. Note how the bracket will work with the crossmember and help
absorb an impact if I hit something low. Pictured is me holding the
piece that I cut off.
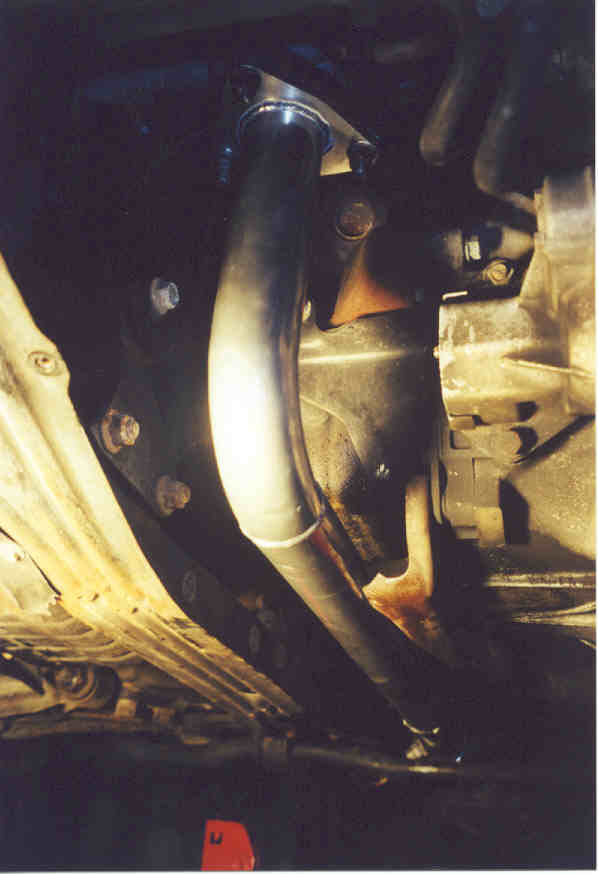
Step 6: Note that the Y pipe is
protected both by the bracket and the cross member. I was lucky to
get one that did not hang lower than the cross member. However, the
sway bar problem that I have and that I mentioned in my FAQ's could have
been avoided if this drop wasn't so severe. It looks like
there is plenty of clearance now, but the car/engine is jacked up
somewhat. This is how it should have been!
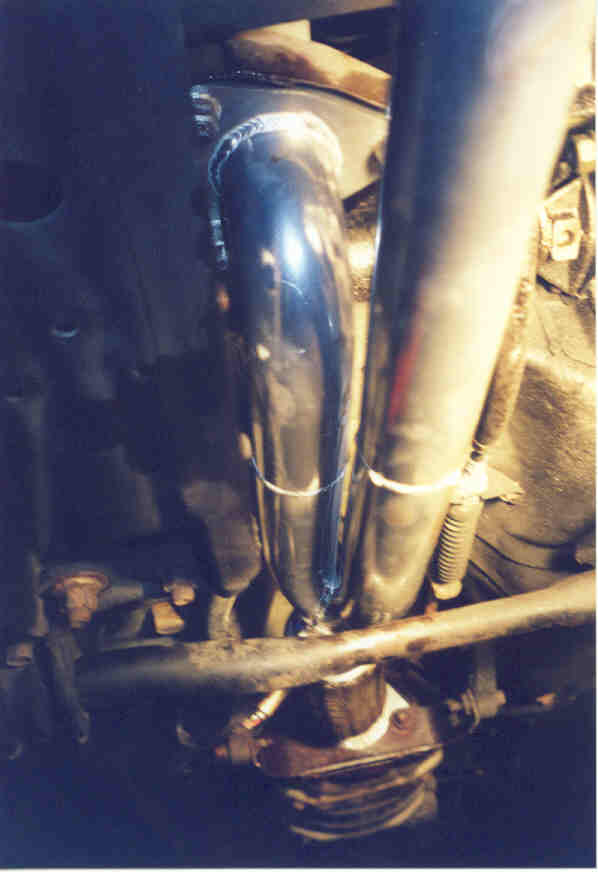
Step 7: The finished product,
before hooking up the catalytic converter hangers.
The result? A lot more power between 3000 and 4500 rpm, however,
the pipe hangs too low and vibrates on the sway bar during moderate to
heavy acceleration. I ended up passively fixing the problem by
padding the sway bar. In
addition to my padding of the sway bar, I had to
dent the pipe a little bit.
|