|
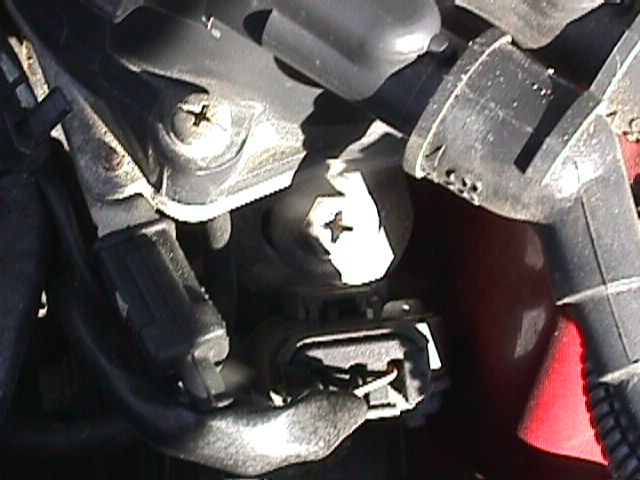
Below is the distributor hold-down bolt which resides under the distributor,
you can see the sun shining on it in both pictures. To change the timing:
- First obtain a timing gun (normal or one with the advance feature)
- Make sure the engine is warmed up and running at a normal idle level
[during the whole procedure].
- Hook the #1 cylinder up to the timing gun and the two terminals to the
battery.
- Check your current timing by aiming the timing gun near the belts on the
right side of your car directly on the crankshaft pulley. There are 7
tick marks, starting from the left (closest to the windshield) 0, 5, 10, 15,
20, 25, 30 degrees. The first tick mark is technically supposed to be orange,
but might be covered up from dirt.
- There is a timing indicator (I call it an arrow) which indicates where
your timing is when the light from the gun is flashing on it. If you see the
arrow on the middle mark (4 from the left when standing at the right front
tire), then your timing is right at 15 degrees.
-
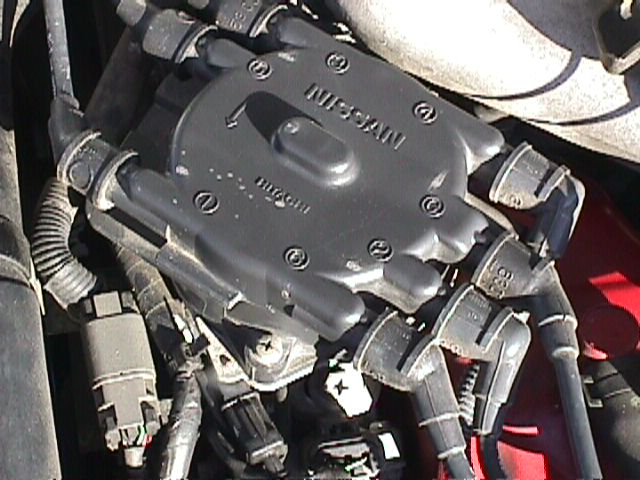
Remove the "ECCS" cover.
-
Obtain a 9 mm socket with an extension and
loosen the below distributor hold-down bolt.
a. Be careful to keep the wires away from the accessory belts or cooling
fans
b. Do not take the screw out, only loosen it a little.
- Once the screw is loosened, put your hand on the distributor and slightly
turn it to the right (advancing). Have the nut on the distributor snug enough
where it stays in place for fine tuning.
- Next, check your timing with the gun. I recommend going with 20 degrees,
which is the 3rd tick mark from the right (5th tick mark
from the left). 18 is also a good number and you can adjust accordingly for
it.
- Tighten the distributor hold-down bolt
- Re-check the timing to ensure the distributor stayed in place while you
tightened it.
- Disconnect the timing gun
- Put the distributor cover back on.
Take the car for a test drive and make sure no knocking or pinging occurs. If
it does, retard the timing slightly.
Note 1 if you have an advance able timing gun, you can use itĺs
feature, which allows you to dial the timing in on the gun itself and base
everything on the left-most tick mark. With this setup, you really don't need to
use the advance feature and can just use the tick marks. The only advantage in
my eyes with using the advance feature is that it is a little more easy to
determine the left most mark than the 3rd mark from the right (20
degrees)
Note 2 Higher octane fuel is recommended with the advanced timing
setup. I alternate between 89 and 93 octane and havenĺt had any
problems.
 (
standing at the right front wheel looking (
standing at the right front wheel looking
down at the crankshaft pulley) excuse my
art work.
|