 |
Digital Clock Repair
Author : Craig Brace
Published : September 19, 2001
Last Modified : October 1, 2002
|
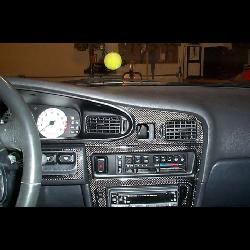
In the 3rd generation Maxima (89-94), the digital clock commonly fails. It
will come on and off periodically or just not work at all. Sometimes, a good
whack on the top of the dash will bring the clock to life for a little while.
The method below should fix it for many years so you dont need to worry about
it again.
This requires a decent knowledge of soldering. If you are not confident in your
ability, find someone who is. If you dont know anyone who can do this for you, email Matt Blehm. He is another maxima owner (93SE) who is a friend of mine. He will do it for you for about $30 (plus shipping) which is much less than the cost of a new one. He does a very nice job and is a trustworthy guy. He will also fix your door lock timer for about the same price. If your door locks have stopped working, this is probably the cause. Email him for more info about that too. If you're in the Atlanta area and need someone to do it, email me and I'll see if we can work something out. |
Parts needed:
* medium sized phillips head screwdriver
* small flat head screwdriver
* soldering iron, solder and flux
* maybe: 3 electrolytic capacitors - 16v (50 is fine too): 2 100uF, 1 1uF. You should be
able to find these at Radio Shack or a similar electronics retailer.
Getting to the clock took me about 15-20 minutes while taking pictures of everything.
If you haven't done it before, you should be able to do it in about 30 minutes or less,
fixing the clock will probably take another 1/2 hour or so. You should be able to complete
this in one evening if you have everything ready and have already gone through all the
instructions.
click on any picture to enlarge it
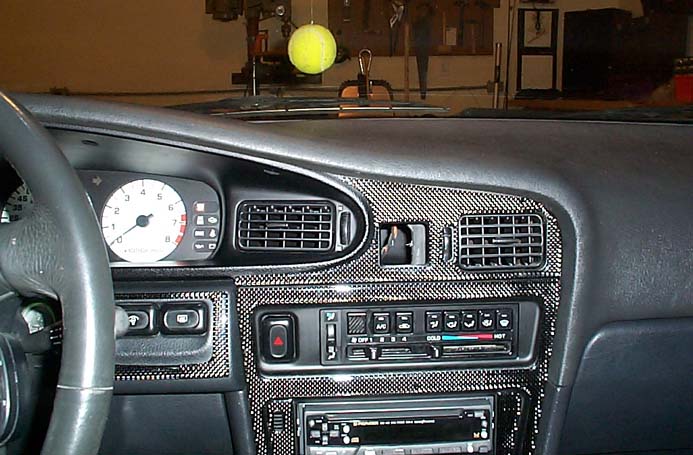
I have a Joshua Tree carbon fiber dash cover but other than that,
your car should be pretty similar.
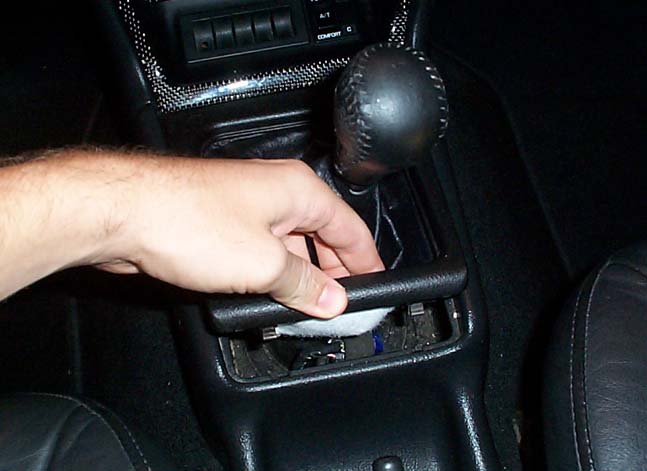
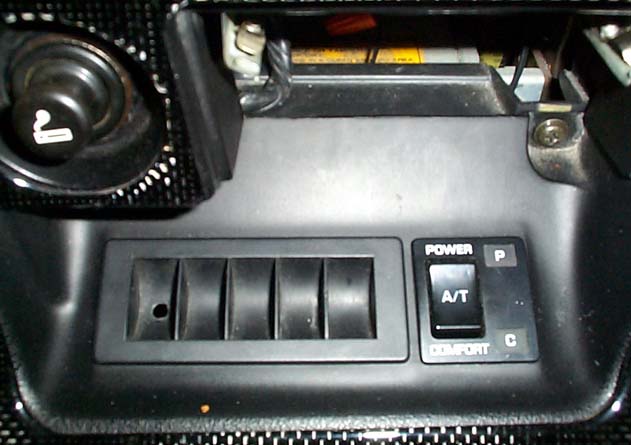
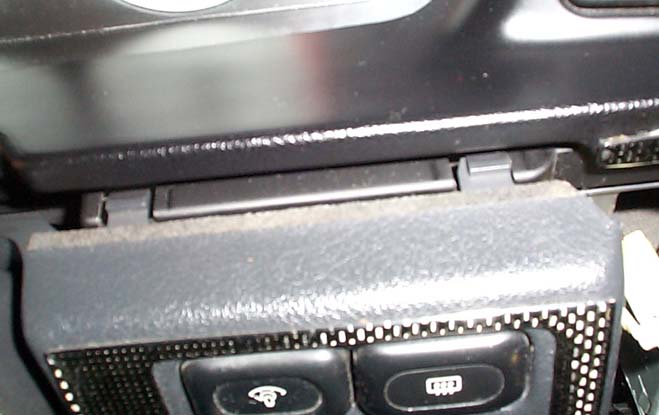
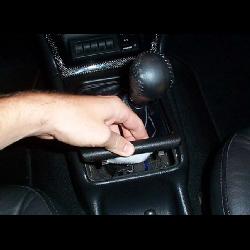
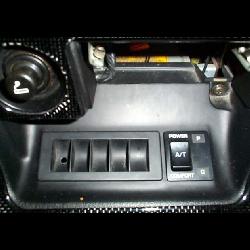
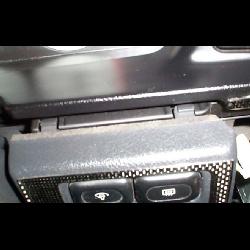
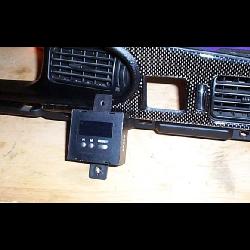
1. Remove shifter cover.
For both auto and 5spd, just pop the bottom part
up first and the rest will come up with it. If you have a automatic,
you will need to remove the power/comfort switch by popping it out with
a small flathead screwdriver. Be careful not to scratch the dash while
doing this. Unplug it's harness and set it aside.
|
 |
 |
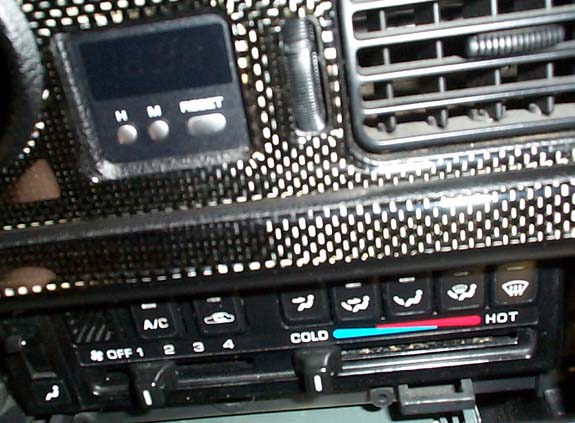
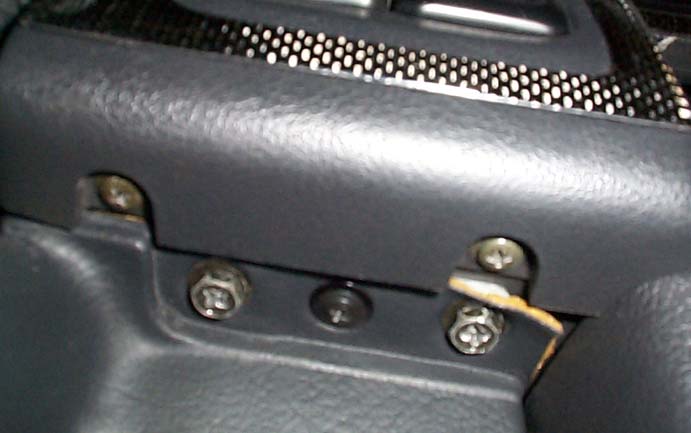
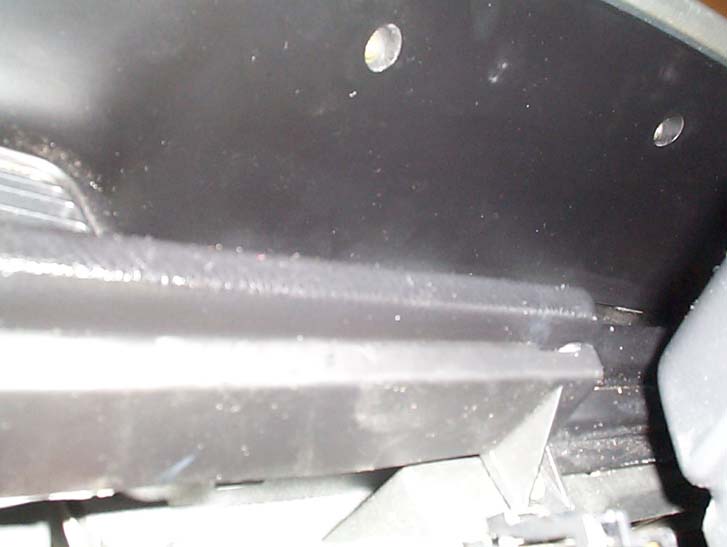
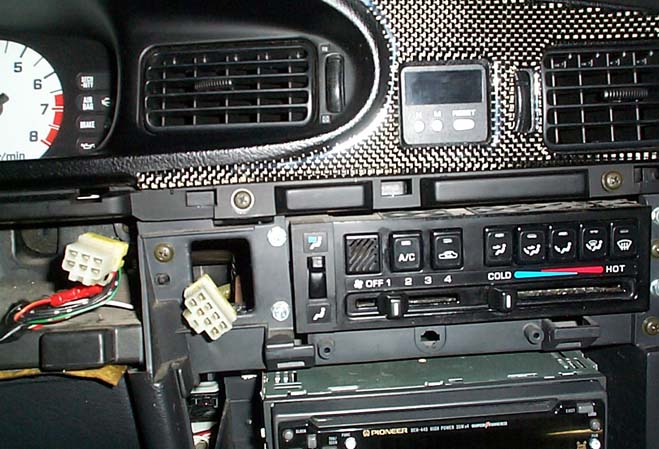
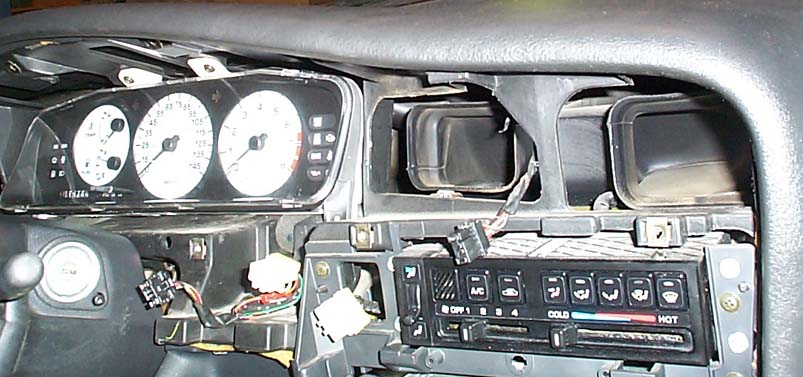
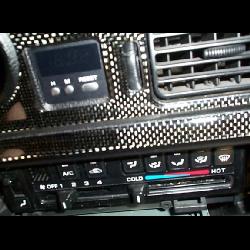
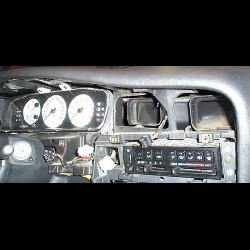
2. Remove the middle dash piece that surrounds the radio and climate control.
To do this, first take out the ash tray.
You will now see one of 2 lower screws - the other is just under the cigarette
lighter. If you have a 89-91, there will also be 2 screws just above the
climate control unit. Once the screws are out, push down at the top
where this piece meets the upper dash piece just below the clock. While
pushing downward on the top, pull the bottom half out and the piece
should pop right out. Unplug the harnesses going to the emergency blinker
and the 2 harnesses at the cigarette lighter.
|
 |
|
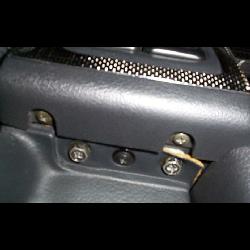
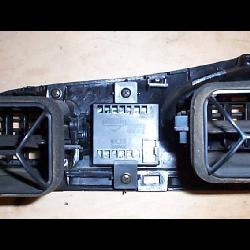
3. Remove panel around steering wheel with cruise, defrost, dimmer, etc.
There are 4 screws holding this on. Two on each side that can be easily
seen by looking up from the underside. After these are taken out, push
downward on the top and pull out. There are clips on each side that should
come out. Now unplug all the harnesses. They are all different shapes
so you dont have to worry about switching them when plugging them back in.
A flathead screwdriver will help you push the small "button" and then pry
the harness off. Also, it helps to lower the steering wheel when doing this.
|
 |
 |
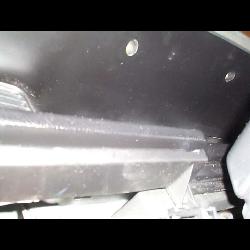 |
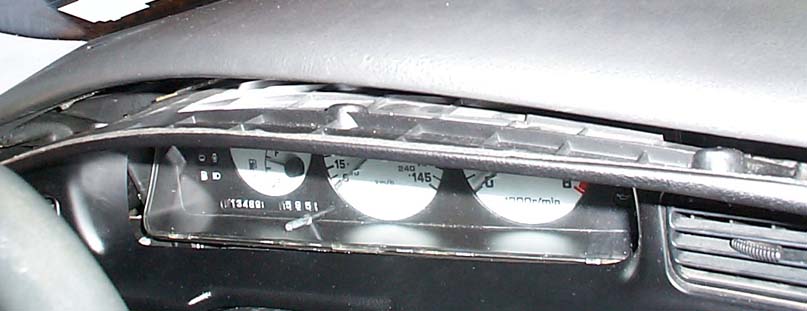
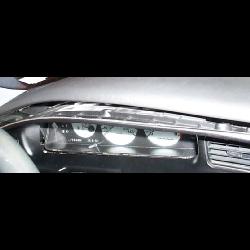
4. Remove upper dash panel that surrounds the gauges and clock.
There are 9 screws total holding this piece in. Five are on the lower part
which are easily seen (2 just below clock and one more on each side
of the steering wheel). The other 4 are hidden in the top part and you will
have to look up from underneath to see them. After this is done, you
need to take the whole piece out. Lower the steering wheel if you haven't
already. Pull the whole piece out (vents will come out with it). This
piece is hard to get out, but if you bend it slightly in the middle, it will
help get it over the steering wheel. There is one harness at the clock that
you need to unplug. If you want to get to your gauges for any reason now,
all you have to do is remove 4 screws (2 on top and 2 on bottom) and unplug
its harnesses from the back while pulling the whole assembly out.
|
 |
 |
 |
|
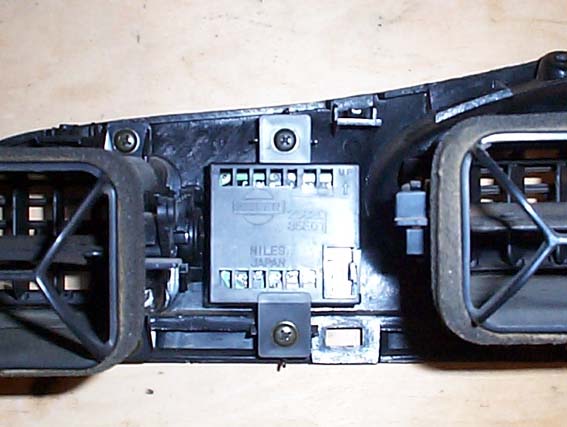
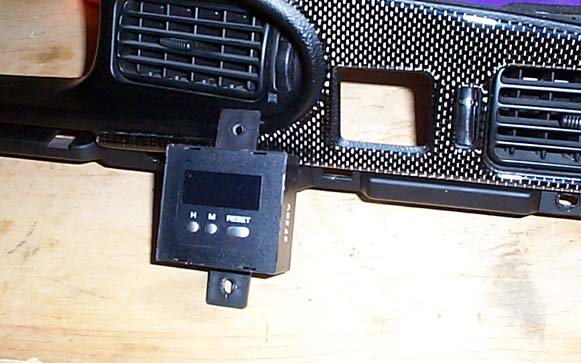
5. Remove the clock from the upper dash panel.
It is just held in by 2 screws
on the backside. I put the rest of my dash back together because I was taking
the clock to my work the next day to fix so I put everything back together
minus the clock.
|
 |
 |
 |
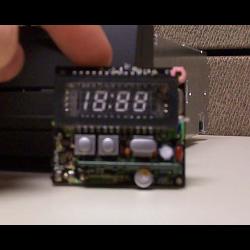 |
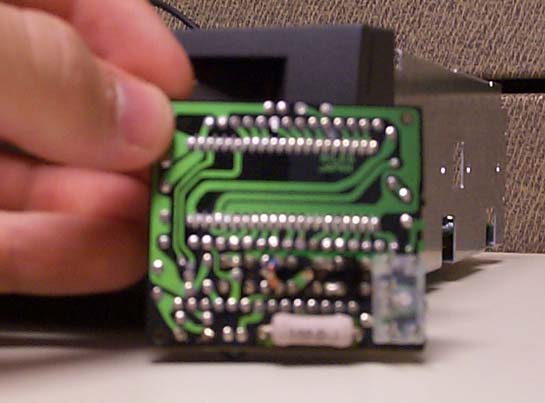
6. Now to fix the clock.
Open up the clock by using a small flathead screwdriver
to get the cover off. You should now be able to see a small phillips head screw
on the lower lefthand portion of the circuit board. Remove this and then push
the board gently out from the backside.
|
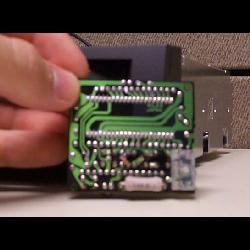 |
If you dont know how to solder, find a friend who does. This isn't the most
difficult soldering job, but I wouldn't recommend it to learn how to solder with.
Add some flux to the backside of the board and resolder all the joints. They should
be a nice shiny, clean silver when you're done with them. Some people have said that
just resoldering isn't quite enough so you may want to replace the electrolytic capacitors. I would recommend resoldering and plugging it back in. If it still doesn't work, then give the capacitor replacement a shot. Thanks to DanNY for the pic below.
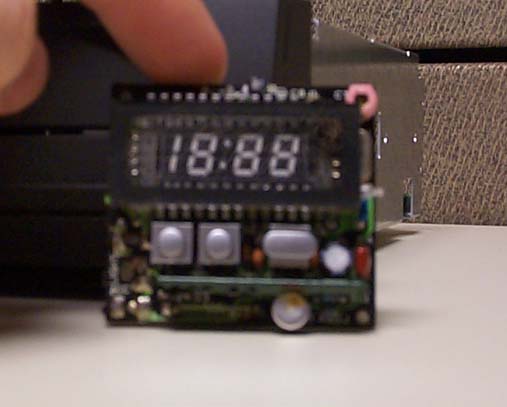
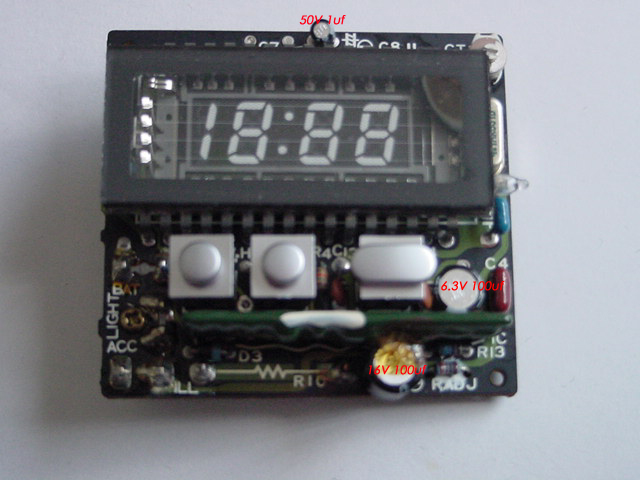
They are the 3 large black cylinders with a white stripe going down one side. On the board,
they are labeled C7 (the small one at the top), C3 (large one in middle righthand side), and
C1 (large one at the bottom). Be sure to put them in the correct polarity when you replace them.
There is a small - sign on the board next to each one that shows which side is negative. On the capacitor
itself, there is a white stipe with - signs going up it on one side. That side is negative so
match it up when you put them back in (C7 +on left -on right; C3 +on top,-on bottom; C1 +on left
-on right). Look at the picture for voltage values of the capacitors. If you cant find the right voltage, just get one slightly higher. The values are C7: 1uF (one microfarad), C1: 100uF, C3: 100uF (I'm 99% sure on this
but I didn't take that one out because it was a pain to get to). When you replace them, be sure to
put them as far down on the board as they will go since there's not much extra room in the clock.
Personally, I just replaced C1
because it had obvious corrosion around it and the others looked fine to me. You may want to just
resolder the joints and plug the harness back in for a few days to test it and see whether or not
you should bother replacing the caps or not. If your dash is already back together, you can plug
in the clock just by pulling the harness out a little through its hole and letting the clock hang
there. Maybe use some tape so it doesn't fly around when you're driving though.
|
Put the clock back together, test it out. Hopefully it will work for you as it has for many other
3rd gen maxima owners. Replace the rest of your dash by doing the reverse of taking it out. Be sure
to plug all your connectors back together.
|
|
 |