How to install an Addco Rear Sway Bar on your 3rd Generation (1989-94) Nissan Maxima
Please be sure to read all the way through the instructions before you begin. Don’t wait until you are part way through the installation to find out you need another tool or part.
What you will need:
 Jack, tire blocks, ramps or other (see step #1) Jack, tire blocks, ramps or other (see step #1)
13mm socket
14mm deep socket
17mm socket
19mm socket
polyurethane bushing grease (optional)
Installation:
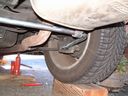
1. You will need to keep the rear suspension "loaded" for this installation. Use ramps, or jack up the rear wheels and lower them on to something solid. Make sure you block the front wheels so the car will not move. Safety First!

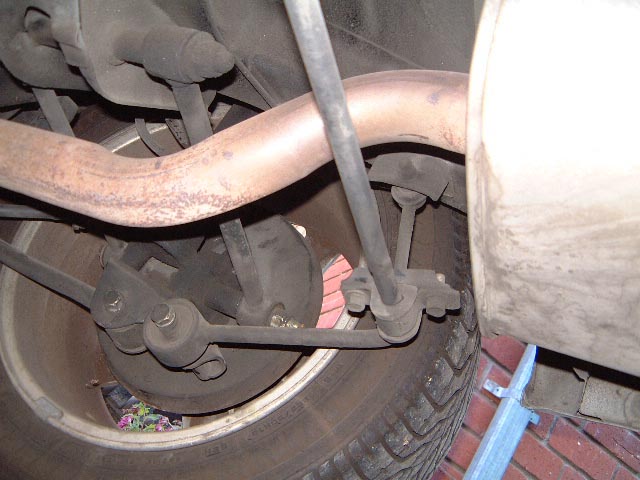
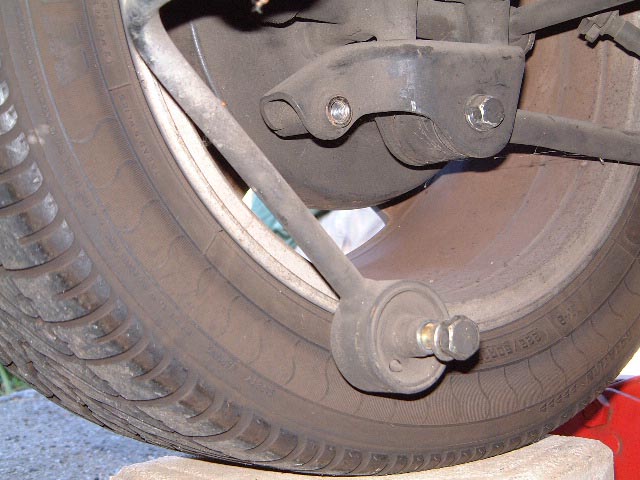
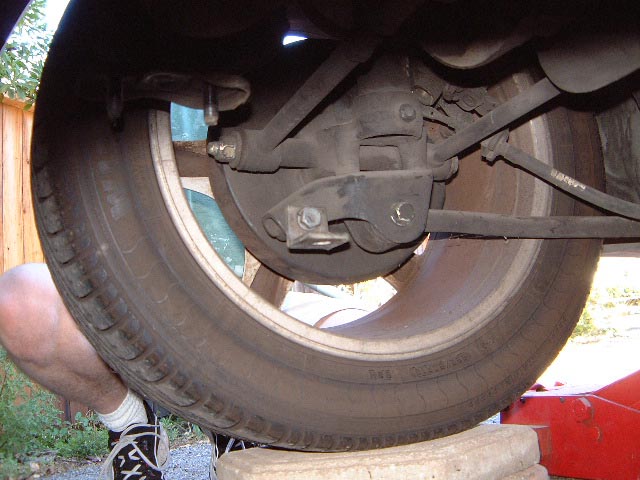
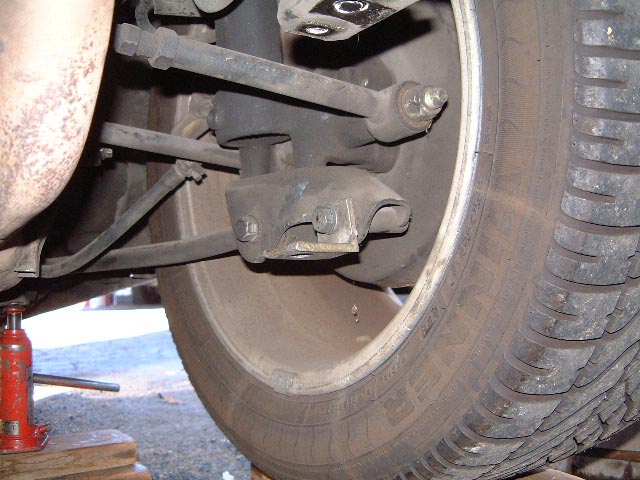
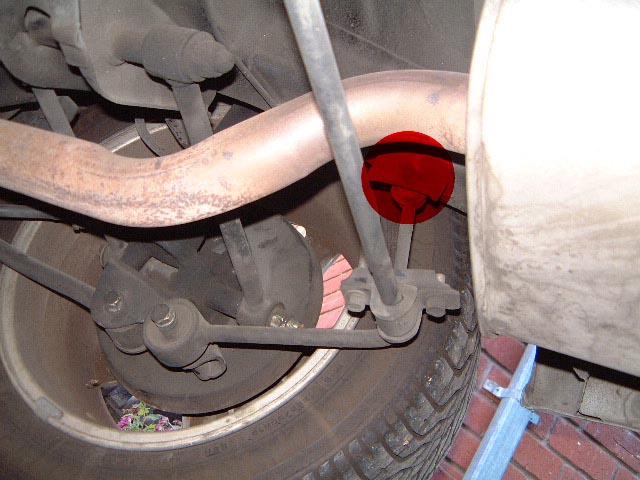
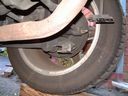
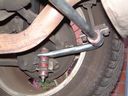
2. Remove the 19mm bolts on the ends of the OEM RSB. Save the washers; you will need to reuse them with the Addco bolts.
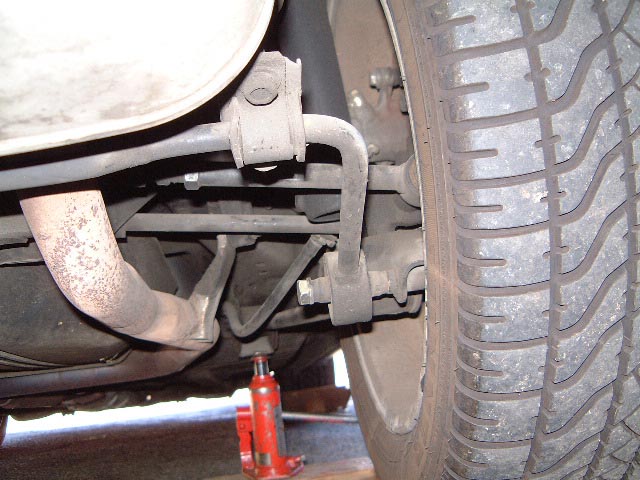
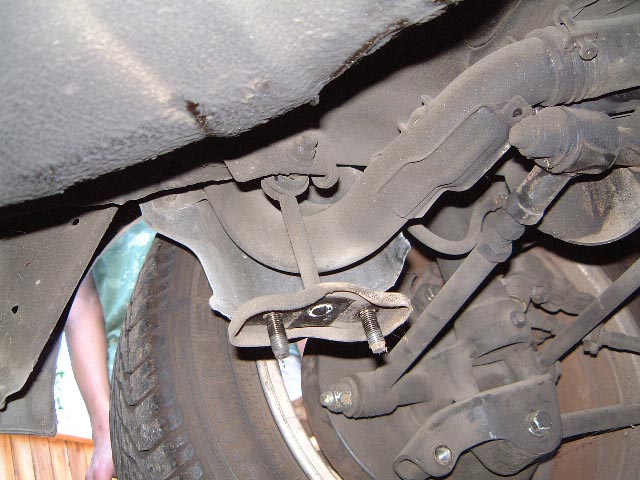
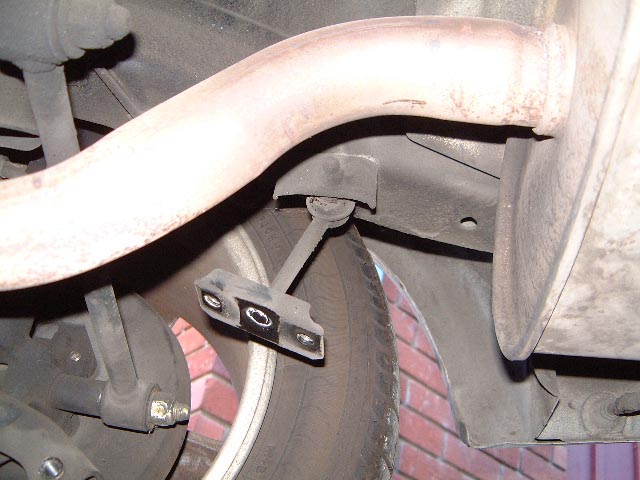
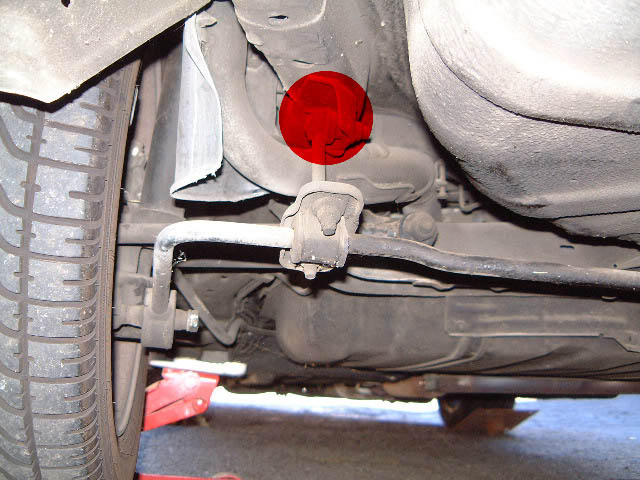
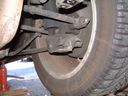
3. Remove the 2 U bracket and bushing RSB supports from the hangers with a 14mm deep socket. One side will be bolts, the other nuts. You will reuse the nuts and bolts with the Addco U brackets. Put the OEM RSB to one side, but not too far, you will need it for step #5.

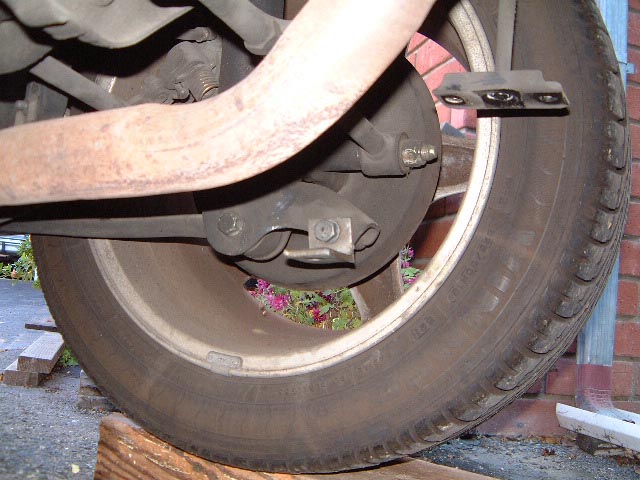
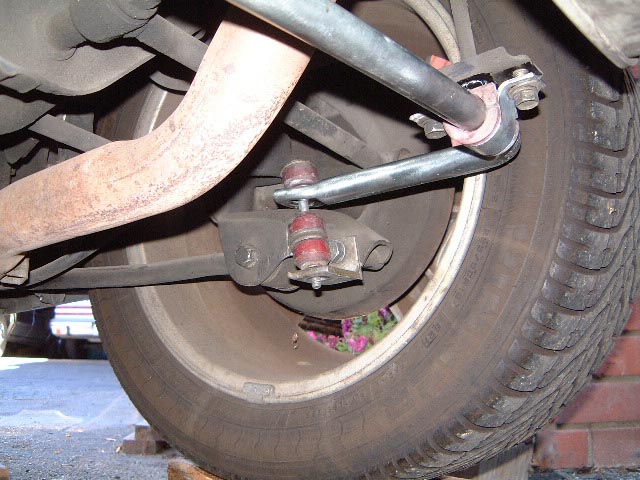
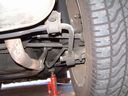
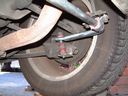
4. Attach one of the supplied L brackets to where the OEM RSB ends were attached. Put the shorter Addco bolt with the OEM washer on the outside through the short side of the L bracket. Position the bottom of the L so that is it parallel to the ground. Torque the 17mm bolt to 50-60 ft lbs. Repeat for the opposite side.


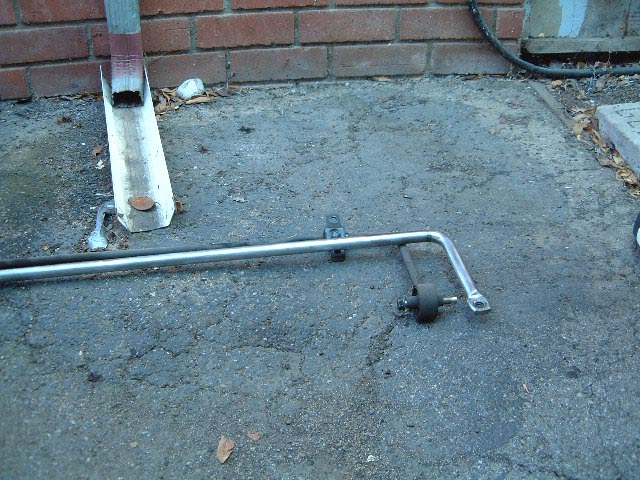
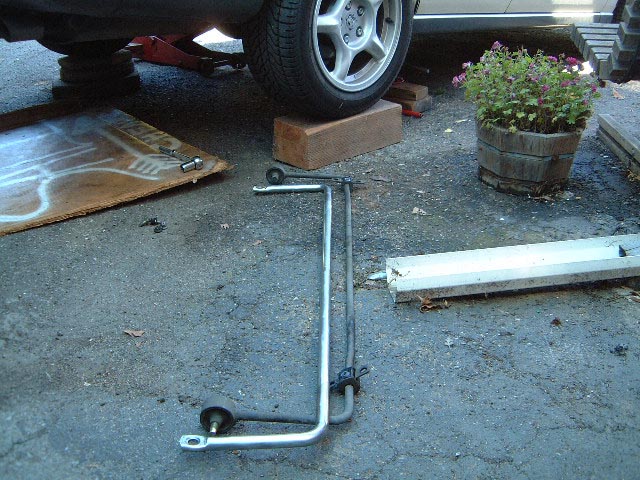
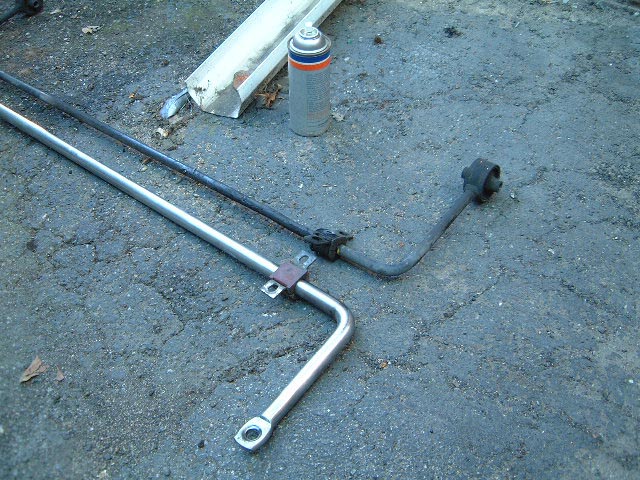
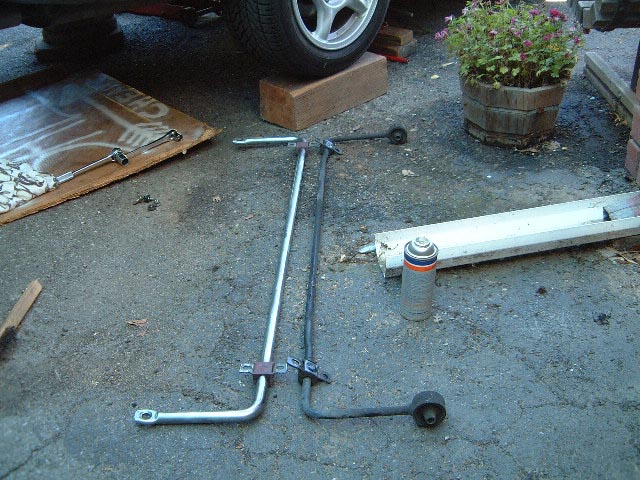
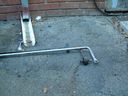
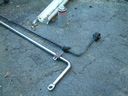
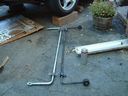
5. Lay the Addco RSB and OEM RSB on the ground next to each other with the longest part of the bars parallel. Put the Addco bushings on and position them so they are lined up with the OEM RSB bushings.
Note: one bushing should be closer to the end of the bar than the other. This one will go on the right side of the car.
Optional: Put some polyurethane bushing grease on the Addco bushing to keep it quiet under load.
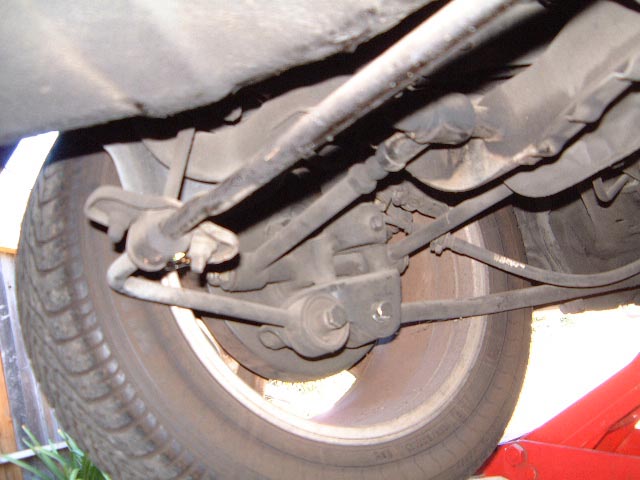
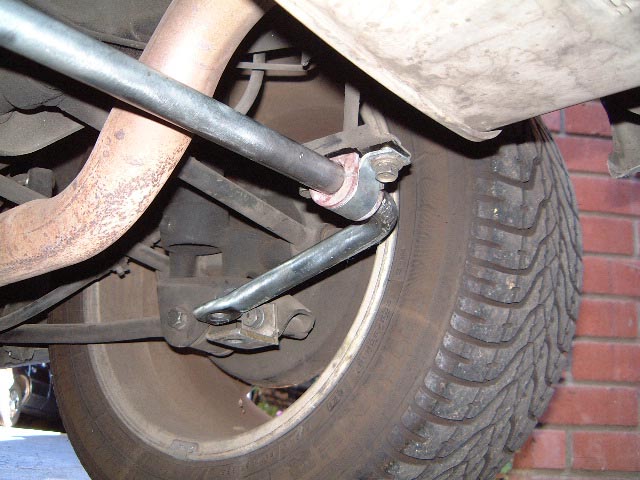
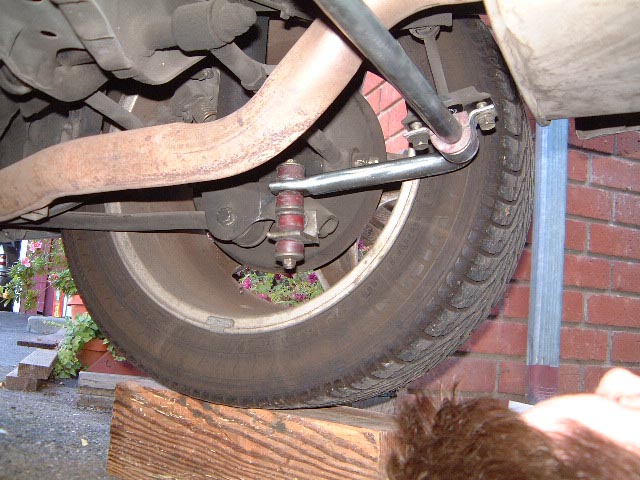
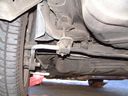
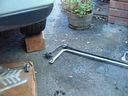
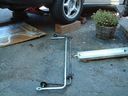
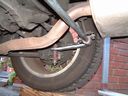
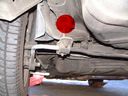
6. Position the Addco RSB under your Maxima with the ends resting on the L brackets. You should be able to support the bar with one hand while you put the U brackets on to hold it in place. If you have problems holding the bar up, get help from a friend or use a jack, bucket, bricks, wood, etc. Use the 14mm deep socket or your fingers to lightly put the nuts and bolts on to hold the RSB up.

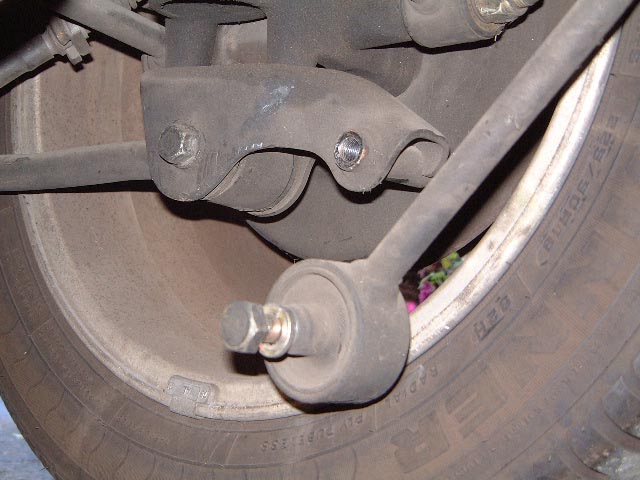
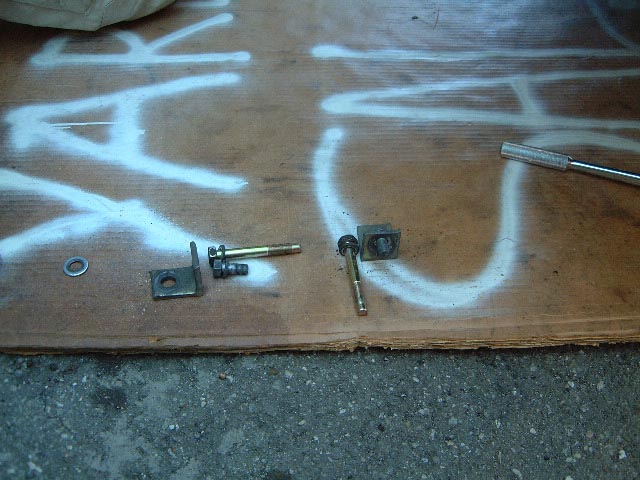
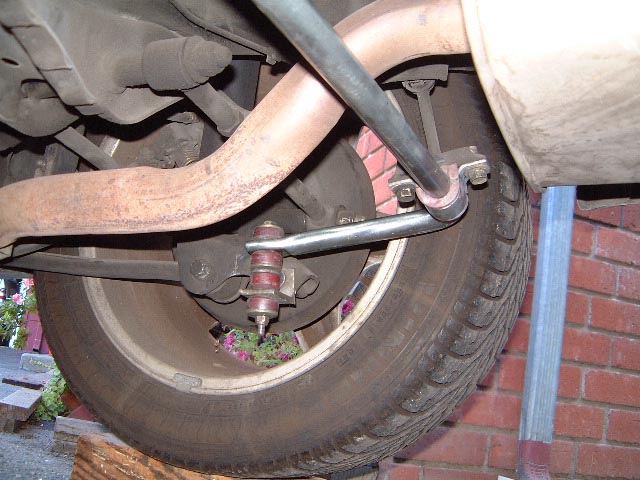
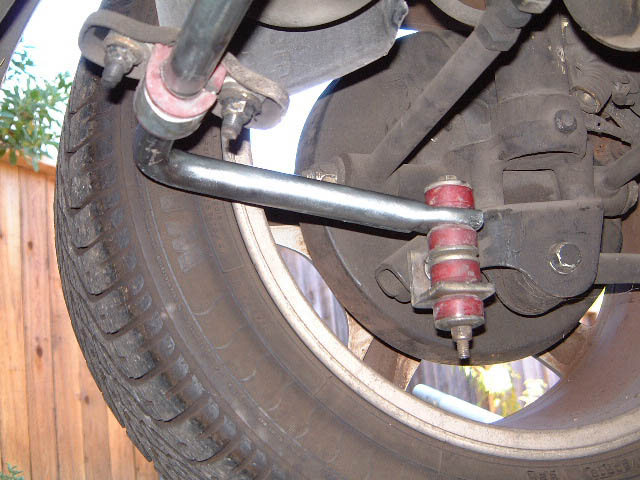
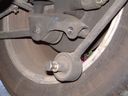
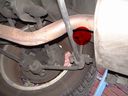
7. Take an Addco end bolt and thread the first washer and bushing through it with the washer on top and put it through the hole in the RSB from above. After the RSB put another bushing, two washers back to back, then another bushing. The flat sides of the bushings should be facing the washers with the little ‘ridges’ on the bushings seated inside the hole in the end of the RSB. Next put the end of the bolt through the hole in the L bracket. Repeat on the other side. The order on both sides should now be: Washer, bushing, RSB, Bushing, Washer, Washer, Bushing, and L Bracket.
8. Now that both sides are just seated in the L bracket, put the last bushing and washer on the bolt and finger tighten the lock nut. Do the same on the other side.

IMPORTANT: Make sure everything is finger tight and lined up before you torque anything down.
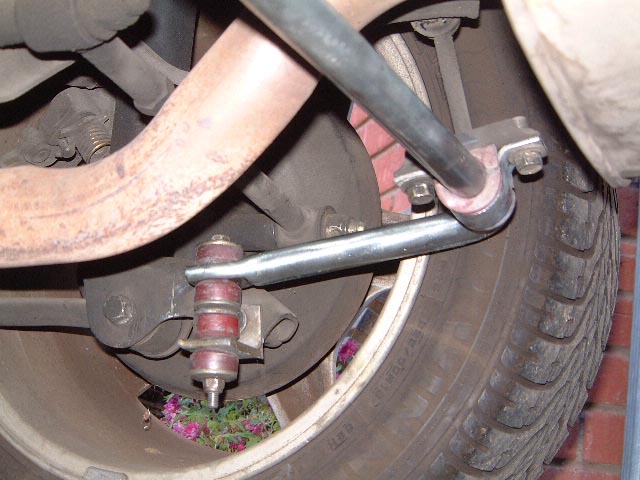
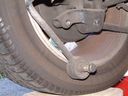
9. Tighten the U bracket bolts and nuts, and torque to 15-20 ft lbs. repeat for the other side. Then tighten the 13mm lock nuts on the RSB end bolts until the bushings are slightly deformed, or until there are about a half dozen threads showing from the bottom. Repeat for the opposite side.
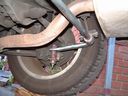

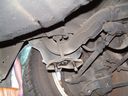
WARNING: The brackets holding the support hanger rods will probably break from regular use. You can buy iron 1/4" thick angled brackets to replace or strengthen the broken mounts. Attach the new brackets to the underside of your Maxima with some self-tapping screws, and be sure to seal against moisture. If you don’t trust screws, a shop will be able to spot-weld thicker brackets on in a few minutes.
|